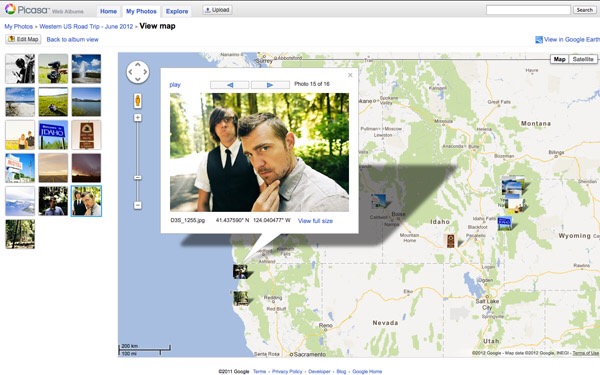
What is Geo-Tagging?
Geo-Tagging tells the internet where the photo was taken utilizing GPS technology. It is commonly used on mobile phone devices and social media apps. What you may not know is that you can manipulate this data and embed code that tells the web that the image was taken somewhere else, namely whatever local business or venue you are want to increase ranking and visibility for. Add to the mix the proper description of the image and alt description and you’ve got a formula for Google first page ranking success.
Benefits of Geo-Tagging Images include:
Search Queries. Search engine users typically add in location-based information when typing something into a search bar. For example, someone might very well type in “Accountants in Los Angeles, Ca.” Therefore, you want your company to be associated with this location so that you pop up in that search.
Image Search. You can’t forget that photos also show up on many SERPs, often at the top. If you can geo-tag your images, it will help search engines determine which images should show up on that SERP.
Check-Ins. Being a part of social geo-tagging on Facebook or Yelp, is a great way to get your company name out there on a platform that is familiar to millions. If you can show up on a list of suggested businesses in the area through these platforms, you have a great chance of improving your business.
When is geo-tagging not a good idea? The idea of geo-tagging will help businesses in a very geographic specific market be found by relevant consumers, as well as helping companies gather data about a local audience. Therefore, if you are a regional company or business, geo-tagging is incredibly important; if you are a national or international business, it won’t do much to help your cause.
Three Ways to Get Started Geo-Tagging Your Website Images for Local Search
1) Online Tools. The most popular way to do this is to use an online tool to geo-tag and add the GPS coordinates of your local business or city you are ranking for to the image. Flickr the easiest way to make this happen. Our favorite tool is GeoImgr because you can geotag multiple photos at once. You simply upload a photo, fill in title tags, descriptions, and GPS coordinates.
2) GPS Camera. This will likely work best for bloggers who take their own photos. If you buy a GPS enabled camera, all of the information you need will be saved for you on the actual camera.
3) Use your Mobile Phone As the cameras on mobile phones now rival those of professional stand alone cameras, it is possible to use your mobile phone to take professional images of your business or local venue and use on your website. These photos from your phone will automatically be geo-tagged. However this can be very cumbersome, especially if you are trying to rank for multiple cities.
Properly Naming Images for SEO Rankings
Don’t go this.
Most images on the web use their file name similar to something like “img175437.jpg” or some variation of an automated file name. People then upload these images onto their site.
Do this.
Prior to uploading the image or media file onto your site, take the extra time to rename the file for what it applies to and what your are ranking for. This is why there are times when you Google an image about a babe, you get images that can vary from a pig to a baby to a scantily clad woman. Be as descriptive and specific as possible in your file names.
At first it will feel weird as your file names may be longer than usual, and that’s okay. Remember that Google is a search engine-not a human being and its job is to simply provide the best search experience for its user. You are not manipulating the system, inasmuch as you are assisting it to deliver better results.
How to use Alt Descriptions
For any image on your site, the alt tag should describe what’s on it. Screen readers for the blind and visually impaired will read out this text and thus make your image accessible.
The alt and title attributes of an image are commonly referred to as alt tag or alt text and title tag even though they’re not technically tags. The alt text describes what’s on the image and the function of the image on the page. So if you have an image that’s used as a button to buy product X, the alt text would say: “button to buy product X”.
The alt tag is used by screen readers, the browsers used by blind and visually impaired people, to tell them what is on the image. The title attribute is shown as a tooltip when you hover over the element, so in the case of an image button, the button could contain an extra call-to-action, like “Buy product X now for $19!”.
Each image should have an alt text. Not just for SEO purposes but also because blind and visually impaired people otherwise won’t know what the image is for. Again, it does take a little more time to fill out these descriptions and titles, and this is is what separates the visibility and ranking of one site to another.


